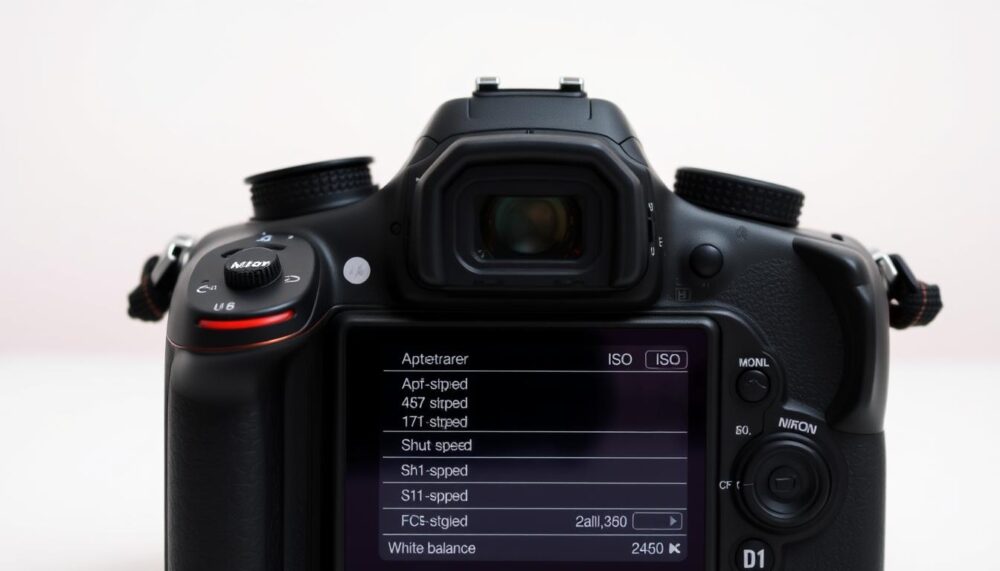
Starting with a new Nikon camera can feel overwhelming, but mastering the basics makes photography enjoyable. Professionals often use just 10-20% of the camera’s functions daily, according to Nikon School. Focusing on core controls first simplifies the learning process.
Beginners should prioritise understanding essential settings like exposure, focus, and shooting modes. Practising regularly—even during everyday activities—helps build confidence. This guide breaks down fundamental operations in a clear, step-by-step manner.
Key Takeaways
- Professionals rely on a small portion of their camera’s features
- Mastering basic controls is crucial before exploring advanced options
- Regular practice enhances familiarity with settings
- Nikon School recommends a hands-on learning approach
- Logical progression ensures steady skill development
Getting Started with Your Nikon Camera
Unboxing your new device marks the exciting first step in your photography journey. Before capturing stunning shots, a few setup steps ensure optimal performance. Begin by charging the battery fully—this avoids interruptions during shoots.
Unboxing and Basic Setup
Attach the lens by aligning the white dot on the barrel with the camera’s mount. Twist gently until it clicks into place. Next, insert the charged battery and memory card. These steps might seem simple, but they’re foundational.
Configure basic menu settings like date, time, and image quality. For beginners, JPEG Fine strikes a balance between quality and file size. Neil Freeman, a seasoned photographer, advises:
“Start with Program mode (P) for flexible auto control while learning.”
Understanding the Mode Dial
The mode dial unlocks creative flexibility. Located atop the camera, it features icons for different shooting scenarios:
| Mode | Best For |
|---|---|
| Auto (Green) | Quick shots without adjustments |
| Program (P) | Balanced auto control with manual tweaks |
| Scene | Pre-set optimisations (e.g., portraits, landscapes) |
Practise rotating the dial to build muscle memory. This small habit pays off in fast-paced situations. Program mode (P) is a practical way to transition from full auto while exploring exposure settings.
How to Operate Your Nikon Camera: Key Controls
Understanding your device’s key controls transforms casual snaps into intentional shots. The main command dial and sub-command dial work in tandem—one adjusts shutter speed, the other aperture. Rotate them while watching the display to see real-time changes.
Mastering the Shutter Button
This button has three stages: a light press activates metering, a halfway hold locks focus, and a full press captures the shot. For off-centre subjects, use focus lock: aim at the target (like a portrait’s eyes), hold halfway, then recompose.
Nikon’s D3500 manual highlights dial variations per mode. In Manual (M), both dials adjust independently—ideal for creative experimentation. Avoid accidental ISO changes by locking dials when not in use.
Focus Lock in Practice
Try this: lock focus on a stationary object, then shift the frame. The technique ensures sharpness where intended, even with movement. As photographer Liam Carter notes:
“Recomposing after focus lock separates snapshots from deliberate compositions.”
With practice, these controls become second nature, letting you concentrate on the scene rather than settings.
Mastering Exposure: The Exposure Triangle
The exposure triangle forms the foundation of every great shot. It balances three elements: shutter speed, aperture, and ISO. Adjusting these settings controls light and creative effects, from freezing motion to blurring backgrounds.
Shutter Speed and Motion Control
Shutter speed determines how long the sensor captures light. Fast speeds (e.g., 1/1000s) freeze action, ideal for pets or sports. Slower speeds (1/60s) suit walking subjects but may need stabilisation.
Nikon School advises:
“Match shutter speed to movement—double the focal length to avoid blur.”
Aperture and Depth of Field
Aperture (f-stop) affects light intake and depth field. Wide apertures (f/4) create soft backgrounds for portraits. Narrow ones (f/11) keep landscapes sharp from front to behind.
Experiment with different f-stops to see how they alter focus. A shallow depth field isolates subjects, while a deep one ensures clarity throughout.
ISO and Image Quality
ISO adjusts sensor sensitivity. Lower values (100–400) suit bright conditions, while higher ones (6400+) aid low-light shots. Nikon’s D850 handles ISO 6400 with minimal noise, maintaining quality.
Enable Auto ISO for beginners—it automatically adjusts shutter and aperture limits. Check the exposure compensation scale in the viewfinder for quick tweaks.
Choosing the Right Shooting Mode
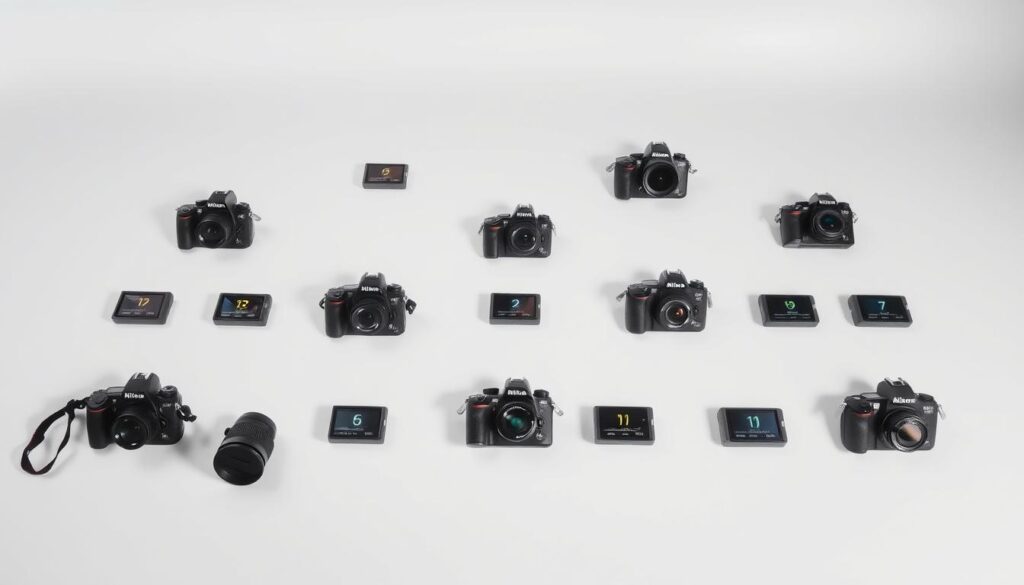
Different photographic situations demand distinct approaches to camera settings. Nikon’s shooting modes let you prioritise creativity or speed, depending on the scene. Start with these four core options to match your subject and lighting.
Program Mode for Flexibility
Program mode (P) balances automation with manual tweaks. It sets shutter speed and aperture automatically but allows exposure bias adjustments. Rotate the command dial to shift these values while maintaining balanced exposure—ideal for quick street photography.
Aperture Priority for Creative Control
In Aperture Priority (A), you select the f-stop while the camera handles shutter speed. Wide apertures (e.g., f/2.8) blur backgrounds for weddings or portraits. Narrow apertures (f/11) suit landscapes, ensuring sharpness from foreground to horizon.
Shutter Priority for Moving Subjects
Shutter Priority (S) reverses the logic: you set the shutter speed, and the camera adjusts the aperture. Use fast speeds (1/4000s) for the Red Arrows’ aerobatics or slow ones (1/30s) for intentional motion blur in waterfalls.
Manual Mode for Full Control
Manual mode (M) hands you complete control. Set both aperture and shutter speed independently—try f/8 with a shutter matching your lens’s focal length (e.g., 1/80s for 70mm). For fireworks, switch to Bulb mode (hold shutter open manually).
“Manual mode rewards patience—practice in stable light before tackling fast-paced scenes.”
- Weddings: Aperture Priority (soft backgrounds)
- Sports: Shutter Priority (freeze action)
- Low light: Manual with Auto ISO
- Handheld warning: Keep shutter speed above 1/focal length (e.g., 1/50s for 50mm)
Focusing Techniques for Sharp Images
Sharp images start with mastering your camera’s focus system. Nikon offers versatile autofocus options to handle everything from still-life compositions to fast-paced action. Choosing the right mode ensures your subject remains crisp, regardless of movement.
Single-Point AF for Static Subjects
AF-S (Single Servo AF) works best for static subjects like landscapes or portraits. Select a single focus point to pinpoint accuracy—ideal when composing carefully. For portraits, position the point over the subject’s nearest eye for professional results.
Customise your AF-area mode to use either a precise single point or a dynamic 9-point cluster. The latter helps when slight movement might occur, like a child fidgeting during portraits.
Continuous AF for Moving Subjects
AF-C (Continuous Servo AF) tracks moving subjects seamlessly. It continually adjusts focus as your subject moves, perfect for sports or wildlife. Nikon’s 3D tracking can follow subjects moving laterally across the frame.
Sports photographer Ellie Watkins advises:
“With cyclists, keep your selected focus point on the helmet—it maintains sharpness even as limbs move rapidly.”
Back-Button Focusing for Precision
Back-button focusing separates focus and shutter release functions for better control. Configure your AE-L/AF-L button to handle focusing, while the shutter button only captures images. This prevents accidental refocusing between shots.
Nikon Z-series cameras enhance this with eye detection AF, automatically locking onto human or animal eyes. If experiencing front/back focus issues, use live view for calibration—the contrast-detection system avoids phase-detection errors.
Understanding File Formats: RAW vs JPEG
Choosing the right file format can dramatically impact your photography workflow. Nikon cameras like the D7200 offer both RAW and JPEG options, each suited to different creative needs. While JPEGs are ready to share instantly, RAW files provide unmatched editing flexibility.
Benefits of Shooting in RAW
RAW files retain all sensor information, enabling advanced adjustments in software like Capture N-XD. Unlike JPEGs, they preserve highlight and shadow details—crucial for recovering blown-out skies or dark shadows. A 64GB card holds roughly 800 RAW+JPEG files, compared to 2,000 JPEGs alone.
Professional photographer Clara Bennett notes:
“RAW is my default for weddings—it lets me correct white balance and exposure in post without quality loss.”
When to Use JPEG
JPEGs are ideal for situations requiring quick sharing, like family events or social media. Nikon’s Picture Control presets (Vivid, Monochrome) apply in-camera processing, so pictures look polished straight from the camera. However, repeated edits degrade JPEG quality, making RAW preferable for archival work.
For best results, shoot RAW+JPEG when storage allows. Batch-convert RAW files later for editing, keeping JPEGs for instant use. This hybrid approach balances flexibility and convenience.
Composition Tips for Better Photos
Great composition turns ordinary scenes into captivating photographs. Whether shooting London’s skyline or a quiet countryside, thoughtful arrangement draws the eye. Start by enabling gridlines in your viewfinder—Nikon’s Custom Settings menu offers a 3×3 overlay for precision.
Rule of Thirds
Imagine your frame divided into nine equal parts. Place your main subject where the lines intersect—this creates balance. For Tower Bridge, align the towers with the right gridline, letting the Thames’ curves fill the lower third.
Negative space works wonders in portraits. Position the subject off-centre, leaving room in the background for atmosphere. Diagonals, like urban staircases, add dynamism when aligned with grid angles.
Leading Lines and Framing
Use natural elements to direct attention. The arches of St. Paul’s Cathedral frame the dome perfectly, while foliage can border a woodland path. Leading lines—railways, rivers, or streets—guide viewers to where you want focus.
Foreground interest adds depth. A pebbled shore in Cornwall anchors landscapes, with cliffs receding into soft background mist. Urban shots gain dimension with shopfronts or lamp posts framing distant landmarks.
“Composition is the silent storyteller—it whispers where to look and why.”
- Activate gridlines: Navigate to Custom Settings > Viewfinder Display.
- Foreground tricks: Use rocks or flowers to lead into landscapes.
- Urban diagonals: Capture the Shard’s angles for dramatic tension.
Essential Camera Settings for Beginners
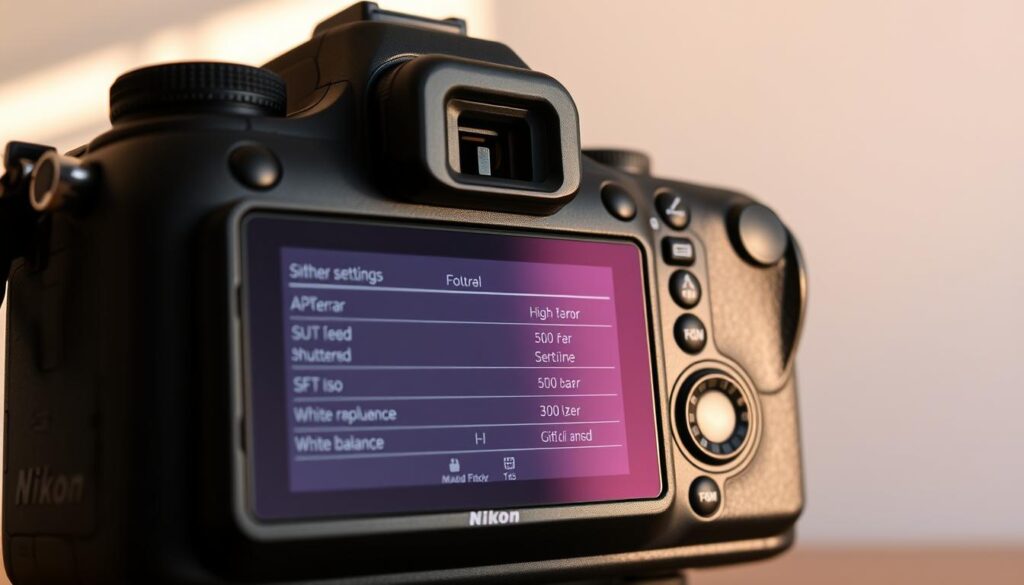
Optimising your Nikon DSLR’s settings unlocks its full potential while simplifying the shooting process. These configurations act as silent partners, handling technical complexities while you concentrate on composition. Start with these three fundamental adjustments to achieve consistent, high-quality results.
Auto ISO for Simplicity
Auto ISO automatically adjusts sensitivity based on lighting conditions, reducing manual tweaks. Set a range of 100-6400 for general use—this prevents excessive noise in low light while maintaining quality. The D7500’s advanced algorithm intelligently balances shutter speed and aperture within your specified limits.
For concerts or indoor sports, enable minimum shutter speed in the ISO settings menu. This ensures sharp action shots without constant monitoring. Remember to disable Auto ISO when using tripods for long exposures to avoid unnecessary noise.
White Balance for Natural Colours
Auto white balance struggles under mixed lighting, often creating unnatural hues. Preset options like Daylight (5000K) or Tungsten (3000K) provide more accurate results. For precision, create a custom white balance using a grey card under your shooting conditions.
Wedding photographer Daniel Hart suggests:
“A quick custom white balance check between venues saves hours of colour correction later. It’s the difference between warm candlelight and odd orange skin tones.”
Picture Controls for JPEG Customisation
Nikon’s Picture Controls let you shape JPEG output directly in-camera. Choose Vivid for punchy landscapes or Neutral when planning extensive edits. These presets adjust sharpness, contrast, and saturation non-destructively.
Enable long exposure noise reduction for night photography—it minimises hot pixels in shots over one second. For professional workflows, embed copyright details in EXIF data via the setup menu. Customise buttons like AE-L to lock exposure when recomposing tricky scenes.
These camera settings form a reliable foundation. As you gain experience, revisit them periodically to match your evolving style. The best results come from balancing automation with intentional overrides when the situation demands.
Conclusion
Mastering photography takes time, but focusing on core functions first makes the journey smoother. Professionals use just 20% of features regularly—prioritise these for quick progress. The best way forward combines practice with structured learning.
Nikon School courses offer excellent next steps for refining skills. Experiment with manual mode during blue hour—low light reveals creative possibilities. Keep firmware updated for optimal performance.
Review shots critically. Use the delete button as a learning tool to identify areas for improvement. For offline reference, download our PDF guide packed with essential information.
Remember, great photos come from understanding fundamentals, not memorising every setting. Start simple, build confidence, and let creativity grow naturally.
FAQ
What’s the best way to set up my Nikon DSLR for the first time?
Start by charging the battery, attaching the lens, and formatting the memory card. Adjust basic settings like date, time, and language before exploring shooting modes.
How does the mode dial affect my shots?
The mode dial lets you choose between automatic and manual controls. For beginners, Program Mode (P) offers flexibility, while Aperture Priority (A) and Shutter Priority (S) provide creative control.
What’s the difference between single-point and continuous autofocus?
Single-point AF works best for static subjects, locking onto one focus point. Continuous AF tracks moving subjects, adjusting focus as they move.
When should I use manual mode?
Manual mode (M) gives full control over shutter speed, aperture, and ISO. It’s ideal for tricky lighting or when you want precise exposure adjustments.
Why shoot in RAW instead of JPEG?
RAW files retain more detail, allowing better edits in post-processing. JPEGs are smaller and ready to share but lose some image data.
How can I improve composition in my photos?
Use the rule of thirds to position your subject off-centre. Leading lines and framing add depth, drawing attention to the main subject.
What’s back-button focusing, and why use it?
It separates focusing from the shutter button, giving you quicker control. Ideal for tracking moving subjects or locking focus on static scenes.
Does Auto ISO help in low light?
Yes! Auto ISO adjusts sensitivity automatically, balancing exposure without excessive noise. Pair it with shutter priority for sharp shots in dim conditions.
