The self-timer feature on Canon PowerShot models is perfect for capturing group shots or minimising blur when pressing the shutter button. Whether you’re setting up a family photo or stabilising low-light exposures, this function ensures everyone’s included—even the photographer.
Most PowerShot cameras support a default 10-second delay, with options to extend it up to 30 seconds. This flexibility suits everything from casual snaps to creative compositions. The feature works seamlessly in Program AE mode, making it accessible for beginners and enthusiasts alike.
This guide explores basic configurations, advanced customisation, and clever ways to use the timer. By the end, you’ll master timed photography with ease.
Key Takeaways
- Essential for shake-free shots and group photos.
- Compatible with Program AE mode for simplicity.
- Default 10-second delay, extendable to 30 seconds.
- Ideal for including yourself in compositions.
- Works across most PowerShot models.
Basic Self-Timer Setup for Group Photos
Group shots become effortless with the right timer configuration. Whether you’re capturing family gatherings or friend reunions, a well-set timer ensures sharp, inclusive images. Start by switching to Program AE mode for straightforward adjustments.
Turning on the Self-Timer Function
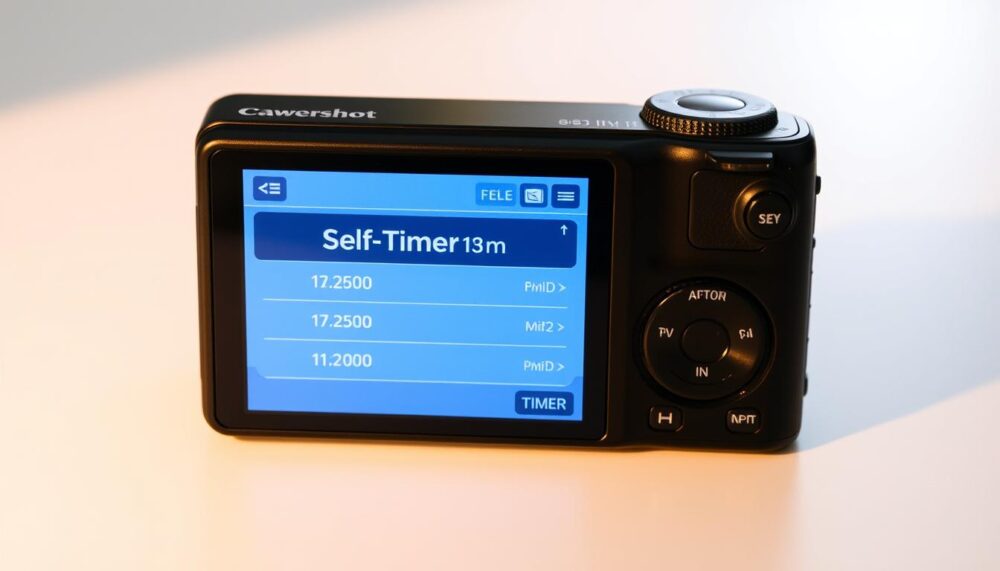
Press the [] button to access quick menu options. Navigate to the timer icon—usually displayed screen’s left side. Select either the 10-second or 2-second delay, depending on your needs.
Setting the 10-Second Delay
For group photos, the 10-second option allows ample time to join the frame. Once activated, a blinking lamp and accelerating beep signal the countdown. Tip: Use the half-press technique to pre-focus before triggering the timer.
Related Posts:


Triggering the Shutter Button
Fully press shutter button to begin the sequence. Ensure subjects remain still until the camera shoot completes. If the button feels unresponsive, check for focus lock or battery issues.
Positioning matters—place the camera on a stable surface or tripod. For larger groups, widen the frame slightly to avoid cropped faces. Using self-timer transforms chaotic setups into polished memories.
Using the Self-Timer to Avoid Camera Shake
Even the steadiest hands can introduce slight movements when pressing the shutter button. This often results in blurry photos, especially in low-light conditions. Fortunately, the 2-second delay function helps eliminate unwanted vibrations for crisp, sharp images.
How the 2-Second Delay Stabilises Shots
Pressing the shutter button creates minor vibrations that travel through the camera body. The two-second delay allows these movements to settle before capturing the shot. This is particularly useful for:
- Tripod-mounted photography
- Long exposures in dim lighting
- Macro shots requiring precision
During the countdown, a blinking lamp and audible beep signal the remaining time. The sound speeds up as the moment of capture approaches.
Steps to Enable Shake Reduction Mode
Activating this feature follows the same simple process as the standard self-timer:
- Press the quick menu button (usually marked with a [] icon)
- Navigate to the timer settings using the arrow keys
- Select the 2-second option
- Press SET to confirm your choice
| Feature | 10-Second Timer | 2-Second Timer |
|---|---|---|
| Primary Use | Group photos | Stabilisation |
| Ideal Conditions | Daylight, casual shots | Low light, tripod use |
| Flash Behaviour | Standard sync | Lamp remains lit |
For best results with the 2-second shot, ensure your camera rests on a stable surface. The brief pause gives you time to remove your hands completely before capture. Canon’s official support page offers additional technical details about this feature.
When working with flash, note the lamp stays illuminated throughout the countdown. This helps maintain focus in dark environments while preventing sudden brightness changes.
Customising the Self-Timer Settings
Tailoring timer preferences unlocks creative possibilities beyond basic functions. Dive into advanced menus to refine delays, shot counts, and sync with flash. These tweaks ensure your Canon PowerShot adapts to any scenario, from rapid bursts to carefully timed exposures.

Adjusting Delay Duration (0-30 Seconds)
Press the MENU button to access hidden timer options. Navigate to “Self-timer Delay” and select durations between 0–30 seconds. Shorter intervals suit quick captures, while 30 seconds allows complex setups.
Pro tip: The first shot determines exposure for burst sequences. Ensure lighting remains consistent throughout.
Selecting the Number of Shots (1-10)
Choose how many images the camera captures per trigger. Ideal for:
- Action sequences (3–5 shots)
- Group expressions (2–3 shots)
- Low-light bracketing (1 shot)
Memory card speed affects performance. High-speed cards prevent interruptions during multi-shot sequences.
| Feature | Single Shot | Burst (10 shots) |
|---|---|---|
| Best For | Static scenes | Dynamic motion |
| Flash Recycling | Instant | May skip frames |
Important Notes for Flash and Memory Usage
When flash fires, the lamp will remain lit during countdowns. This maintains focus but drains power faster. In modes without selection options, greyed-out settings indicate incompatibility.
Memory limitations halt shooting automatically. For uninterrupted bursts, format cards regularly and avoid filling storage past 80%.
Advanced Features: Smart Shutter and Face Detection
Modern PowerShot models elevate timed photography with intelligent automation. These clever functions detect smiles, winks, and new faces to trigger the shutter effortlessly. Perfect for candid moments or tricky angles, they blend convenience with creativity.
Auto-Shooting with Smile Detection
The smile-triggered self-timer captures grins naturally without pressing buttons. Set the mode dial to SCN, then select Smart Shutter and Smile option. The camera shoot seconds after recognising a genuine smile.
For reliable results:
- Position subjects 1–3 metres from the lens
- Ensure even lighting avoids shadows on faces
- Remove sunglasses or obstructions
Wink Self-Timer for Hands-Free Shots
Activate Wink Self-Timer for discreet triggering. After detecting a wink, the shutter releases in two seconds. Ideal for solo portraits where you want complete control.
| Feature | Smile Detection | Wink Trigger |
|---|---|---|
| Delay | Instant | 2 seconds |
| Best Lighting | Daylight | Moderate brightness |
| Failsafe | 15-second backup | 15-second backup |
Face Self-Timer for Group Inclusions
The Face Self-Timer adds newcomers automatically. When someone enters the frame, the self-timer sound speed increases before capturing. No need to press shutter repeatedly—just step into view.
For flawless performance:
- Keep backgrounds uncluttered
- Maintain 60cm minimum distance
- Disable zoom during countdown
Struggling with detection? Check Canon’s official guide for troubleshooting obscured features.
Conclusion
Mastering timer functions transforms ordinary photos into polished shots. From group portraits to low-light stability, using self-timer ensures crisp results every time. Remember to press the shutter button gently to avoid unnecessary shakes.
For creative flexibility, adjust the number shots or sync with flash when needed. Keep your device in top condition by cleaning the lens and avoiding abrupt button presses. This extends the camera’s lifespan.
Program AE mode simplifies settings, while smart features like smile detection add fun. Whether capturing smiles or stabilising tripod shots, timers adapt to any scenario. Experiment freely—each click brings new possibilities.
FAQ
How do I activate the self-timer on my Canon PowerShot?
Press the shutter button halfway to focus, then fully press it to start the countdown. The lamp will blink, and the shutter releases automatically after the set delay.
What’s the difference between the 2-second and 10-second delay?
The 2-second shot reduces camera shake for stability, while the 10-second delay is ideal for group photos, giving you time to join the frame.
Can I adjust the number of shots taken with the self-timer?
Yes! Navigate to the self-timer menu and select between 1–10 shots. The camera will fire consecutively after the delay.
Why does the lamp remain lit during self-timer mode?
The lamp signals the countdown. It blinks faster in the last two seconds before the shutter automatically releases.
How do I cancel a self-timer shot once triggered?
Press the shutter button halfway again to stop the countdown. The lamp will turn off, and shooting is cancelled.
Does the flash fire when using the self-timer?
If flash is enabled, it fires with the shot. Ensure sufficient charging time if using modes without selection of flash delay.
Can I use the self-timer with face detection?
Absolutely! Enable Face Self-Timer in settings—the camera detects faces and adjusts focus before releasing the shutter.
What’s the purpose of the self-timer sound?
The beep indicates the countdown progress. Adjust its speed or mute it in settings for quieter operation.